|
一、匯編語言的準備-----編輯器RealView MDK Keil uVision 4.14的安裝 1、首先是雙擊Keil u Vision 4.14后的歡迎界面

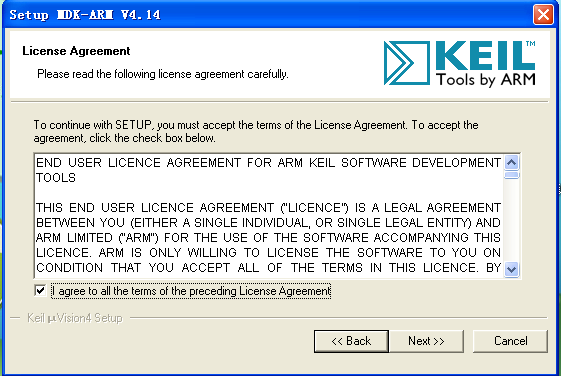
2.next后是接受安裝的界面
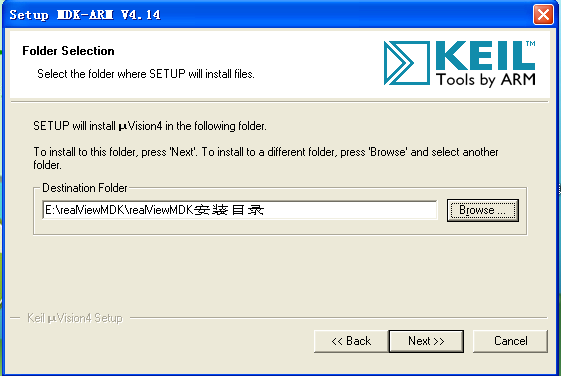
3、接著next后是自定義的安裝目錄界面
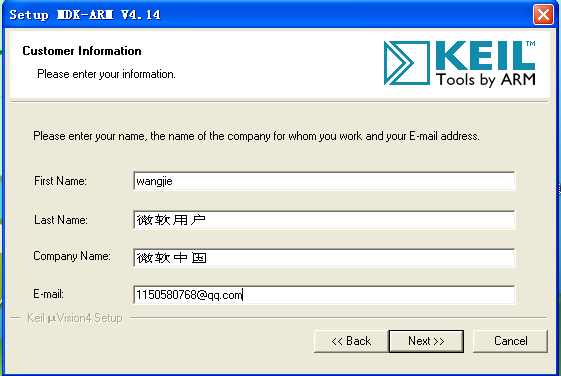
4、接著next后是填寫用戶的信息界面
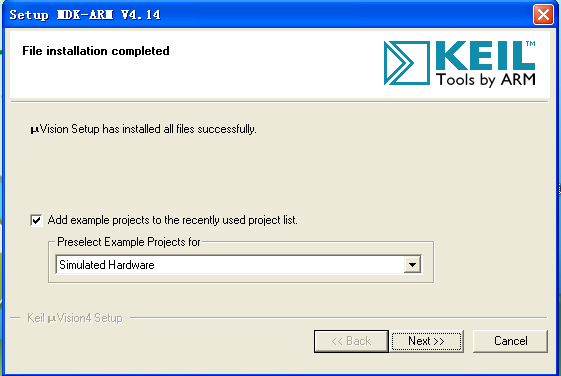
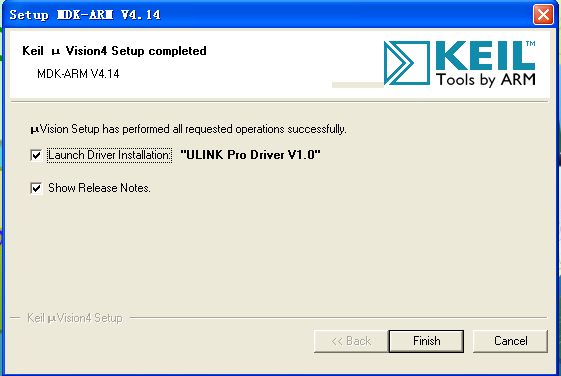
5、接著next后是成功安裝的界面
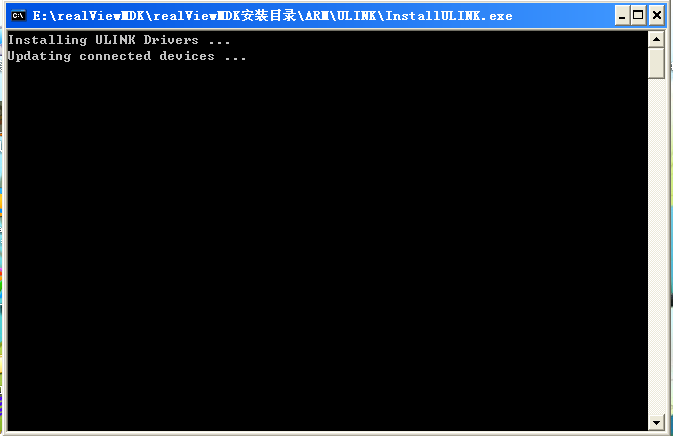
6、接著finish后就可以成功安裝了MDK ARM V4,14
7、finish后就會顯示短暫的安裝界面
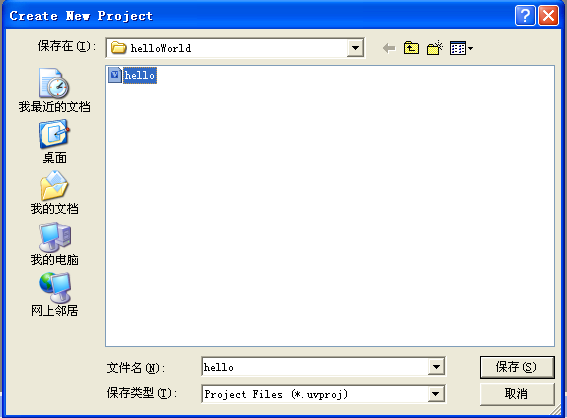
8、創建一個新工程project-------new --------u Vision project 在hello world 文件夾里創建hello.uvproj 工程
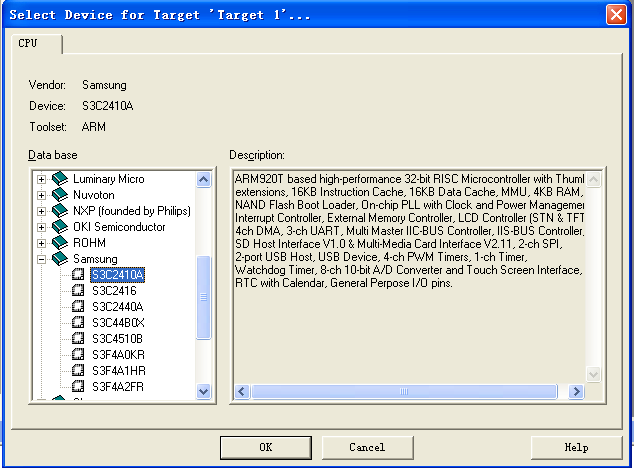
9、為工程選擇一個CPU我選擇的是samsung的s3c2410A
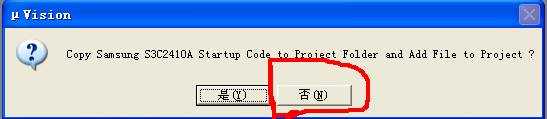
10、 注意!!!注意!!!這里是簡單的匯編程序,因此不需要添加啟動代碼。不然就會再編譯的時候出現以下錯誤 hello.axf: Error: L6411E: No compatible library exists with a definition of startup symbol __main.
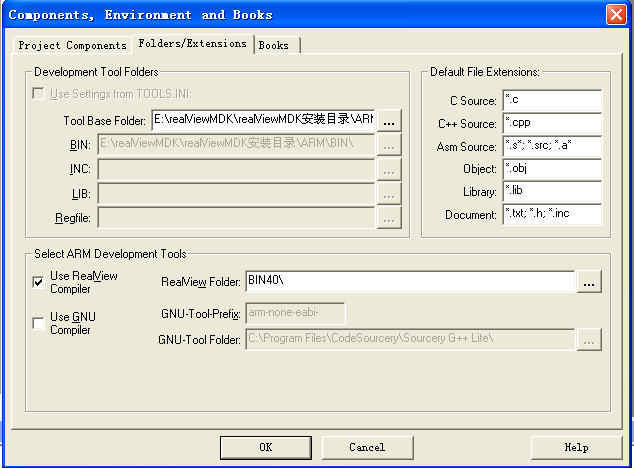
11、選擇開發工具project---manage---components
12、ok后建立匯編程序源文件 file---new test.s (匯編程序源文件) test.sct(分散加載文件) DebugInRam.ini(調試腳本文件)文件 和設置編譯連接控制選項基本配置Target界面(project---option for target) ,順便把test.s 文件添加到工程里工程-------右鍵----Add---group -----add files to

13、基本配置 ----- Linker

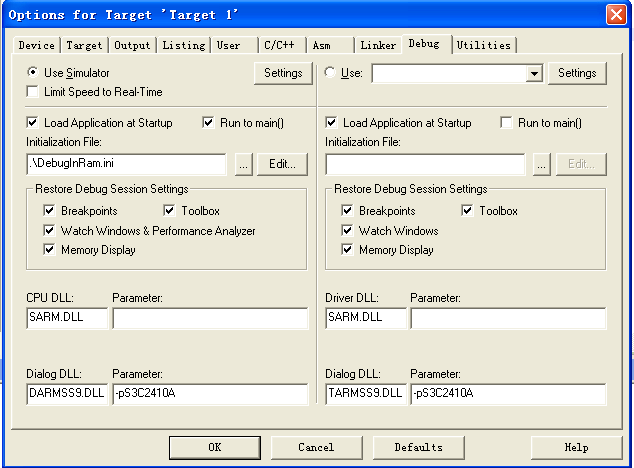
14、基本配置--Debug ----
15、編譯連接工程 projiect --->Build target (F7快捷鍵) 調試工程 Debug ----start\stop Debug Session (Ctrl + F5 快捷鍵) 備注: test.s文件
- addr equ 0x31000100
- preserve8
- area reset,code,readonly
- entry
- arm
- start ldr r0,=addr
- mov r1,#10
- mov r2,#20
- add r1,r1,r2
- str r1,[r0]
- b start
- end
test.sct文件
- LR_ROM1 0x30000000
- {
-
-
- ER_ROM1 0x3000000 0x1000000
- {
-
-
- *.o(RESET,+First)
- *(InRoot$$Sections)
- .ANY(+RO)
-
- }
-
- RW_RAM1 0x31000000 0x01000000
- {
-
- .ANY(+RW+ZI)
-
- }
-
- RW_IRAM 0x40000000 0x00001000
- {
-
- .ANY(+RW+ZI)
-
- }
-
- }
DebugInRam.ini文件
- FUNC void Setup(void)
- {
-
-
- PC=0x030000000
-
- }
-
- map 0x00000000,0x00200000 read write exec
- map 0x30000000,0x34000000 read write exec
- Setup();
Scatter文件還搞不懂,應該是跟具體實用的開發板地址空間分配有關,正在看。
| 


 QQ好友和群
 QQ空間
QQ空間 騰訊微博
騰訊微博 騰訊朋友
騰訊朋友 收藏
收藏 淘帖
淘帖 頂
頂 踩
踩

